When I make soap, I break it out into in several stages: Preparation, Melting, Mixing & Molding, Unmolding & Cutting, Trimming, and Packaging. Generally there is a time gap between the different stages—sometimes hours, sometimes days, and even sometimes months. This is just how I do it.
Preparation
Over the years I have developed several basic recipes which I use for the majority of my soaps. That being the case, in preparation of soapmaking I pre-measure oils and lye for 20 or so batches all at once. I also measure out lye for 16 batches at one time, storing it in tightly sealed, heavy-duty plastic pitchers.
Measuring the oils and fats is pretty straightforward. I use sealable plastic tubs and ziplock bags, combining the ingredients based on their melting temperature.
The lye requires measuring the water and lye (by weight). I put the water in all the pitchers first, and then quickly add the lye, mix it, and put the tops on. Once the lye hits the water it gets very hot (and also gives off a nasty smell) so I leave my shop for several hours after the mix.
Melting, Mixing and Molding
When I’m ready to make soap, the first step is to melt down the oils and fats so they are liquid. The hotter the oils and lye, the faster the soap chemistry happens, so I try to heat my oils only as much as is absolutely needed to melt them. Olive and Castor oils are already liquid, so they go in the pot at room temperature. The remaining oils are melted in a pot on a flame or in the microwave. Once everything is melted, it goes into a five-gallon bucket to be mixed.
I use a drill press, fitted with a long squirrel mixer to actually mix the soap. The pre-measured batch of lye gets poured in and any additional ingredients (colorants, scents, herbs, etc.) are added when the soap starts to thicken.
Once the soap is about the consistency of thin cake batter, I pour it into silicone-lined soap molds (purchased from the Upland Soap Factory before they closed) and then wrap them in blankets to keep the heat in. In the winter I use an electric blanket, but during the summer I only need a light blanket.
Unmolding & Cutting
After the soap has been in the mold for 24-48 hours (sometimes more if I get too busy), it is unmolded, cut into bars and put in my drying closet, which has a built-in dehumidifier to help the curing process. I took some pictures the last time I unmolded and cut:
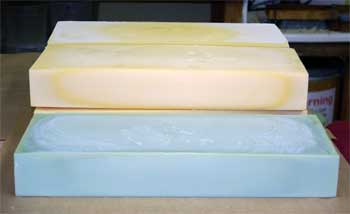
Each mold makes a loaf that is 18 bars long and 2 bars wide, totaling 36 bars. |
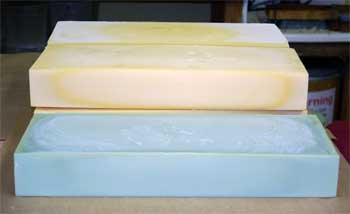
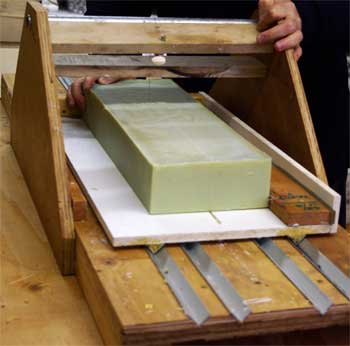 The loaf cutter cuts down the center of each loaf, making two separate loaves, each one the size of 18 bars stacked together. |
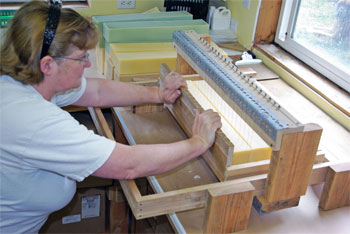 The soap cutter (we call it the Soap-O-Matic) uses guitar strings to cut the loaf into 18 bars. I expect there is an easier machine to do this with, but it certainly was an interesting project when we built it! |
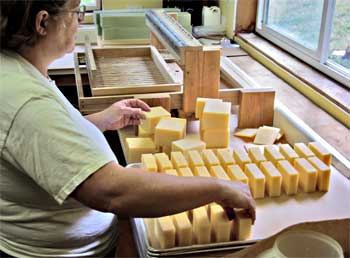 Once the bars are cut to size, they are placed on baker’s trays double-lined with kraft paper. Leaving space between the bars helps them to dry faster. |
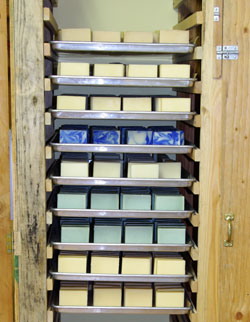 The trays are placed in the drying closet, which holds about 1500 bars of soap. A small marine dehumidifier in the drying closet helps to pull the moisture out of the soaps. Most soaps cure (are dry enough to package) in about 10 days. |

Leave a Reply